Proxmox Install
Proxmox Install
Reason
As discussed in my Homelab post as many who want to start off with homelab, money is an issue. therefore virtualization is our best friend. After trying out different hypervisors such as hyper-v and vmware’s ESXI. I settled on Proxmox due to its prevelence in the homelab space and its ease of use. main reason is that it is free lol.
Overview
for this instillation i will be using it to virtualize my entire homelab and have the option to expand with other nodes if needed. I wanted to be able to simulate enterprise networks with no worries about breaking systems due to snapshots and easily expand if needed.
Instilation
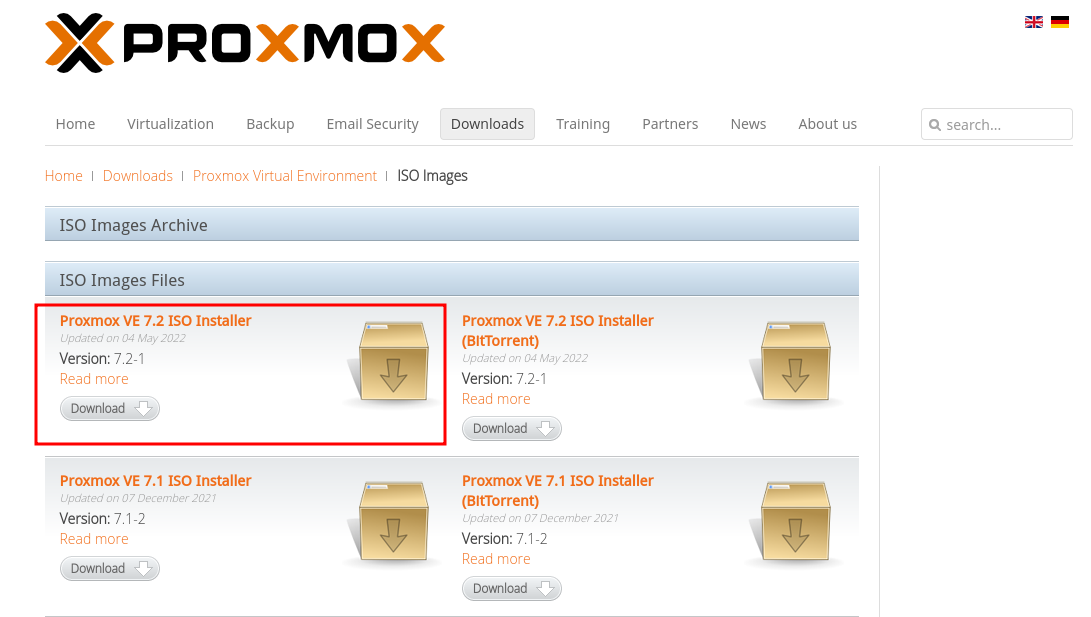
- download the ISO from Proxmox website
- select either the direct download or Torrent.
- now using the software of your choosing burn the ISO to a thumb drive. personaly i like balena etcher or simply dd or cat in linux when internet is not available
- plug in your ethernet cable at this point. it will save time with some of the network setup later.
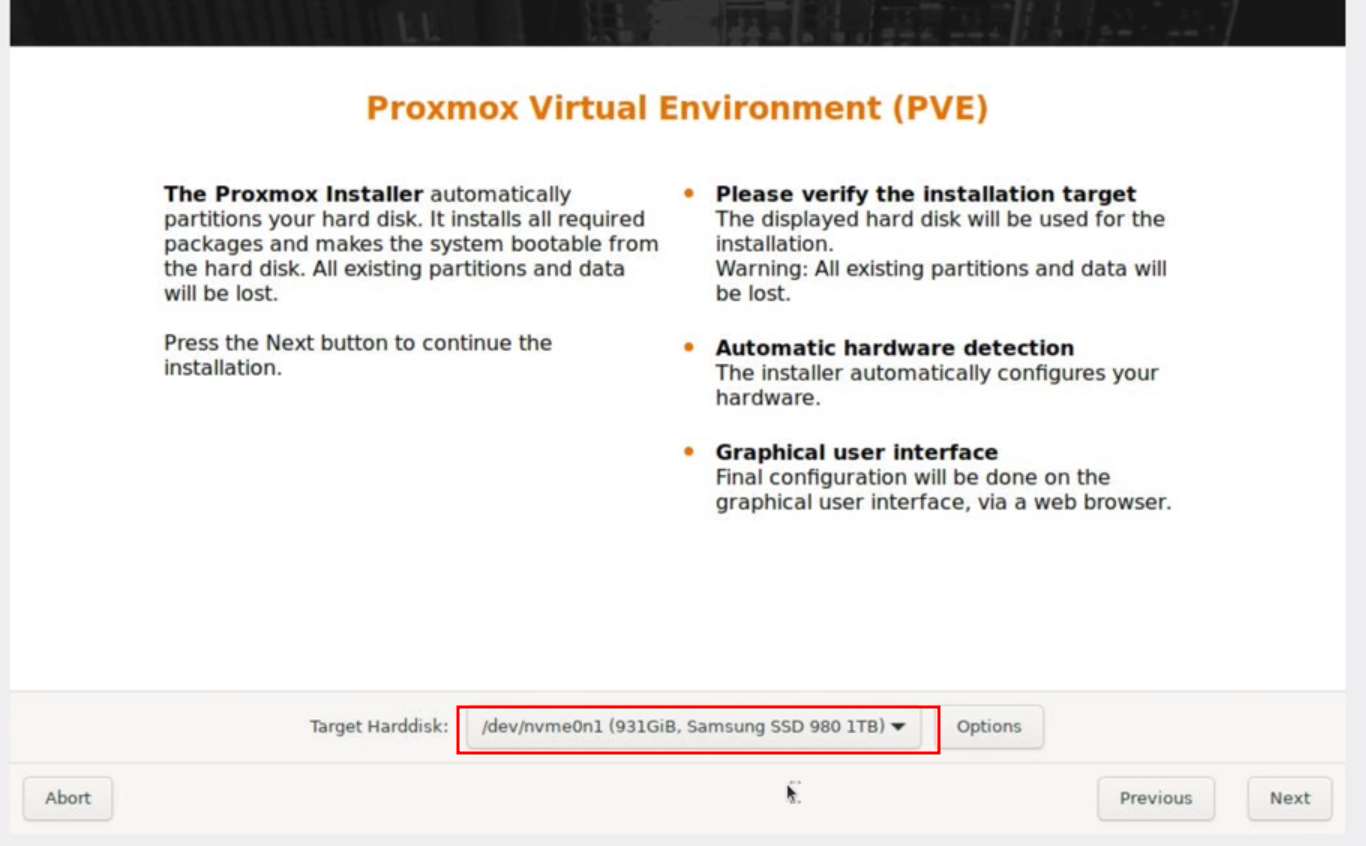
- now after booting into Proxmox we begin by seting up which drive we want our install to go to
- personaly i used an nvme ssd for my inernal boot disk. keep in mind that the drive you use for the install will also house the backups and Disk images in the future.
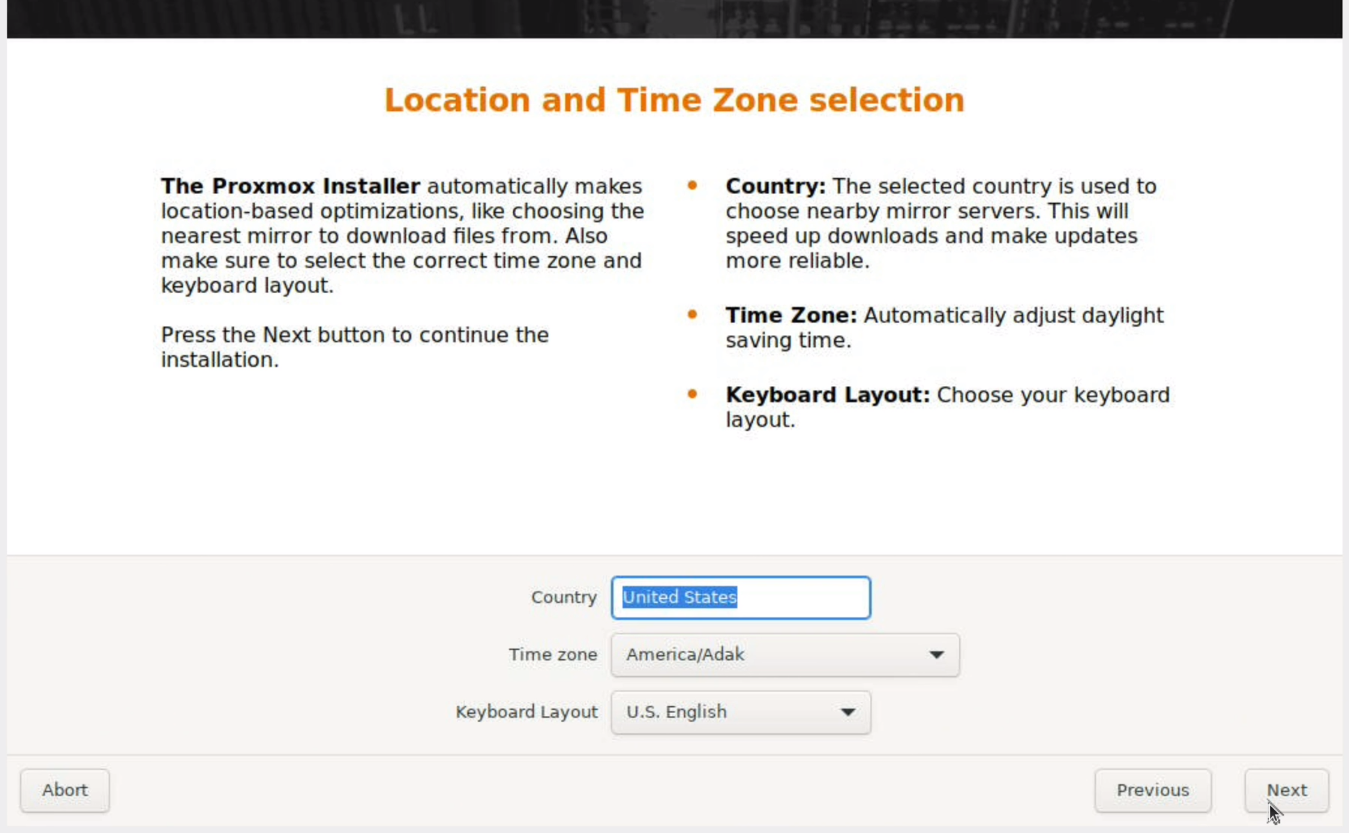
- next we will select the timezone and location for the server. this will keep track of the system time.
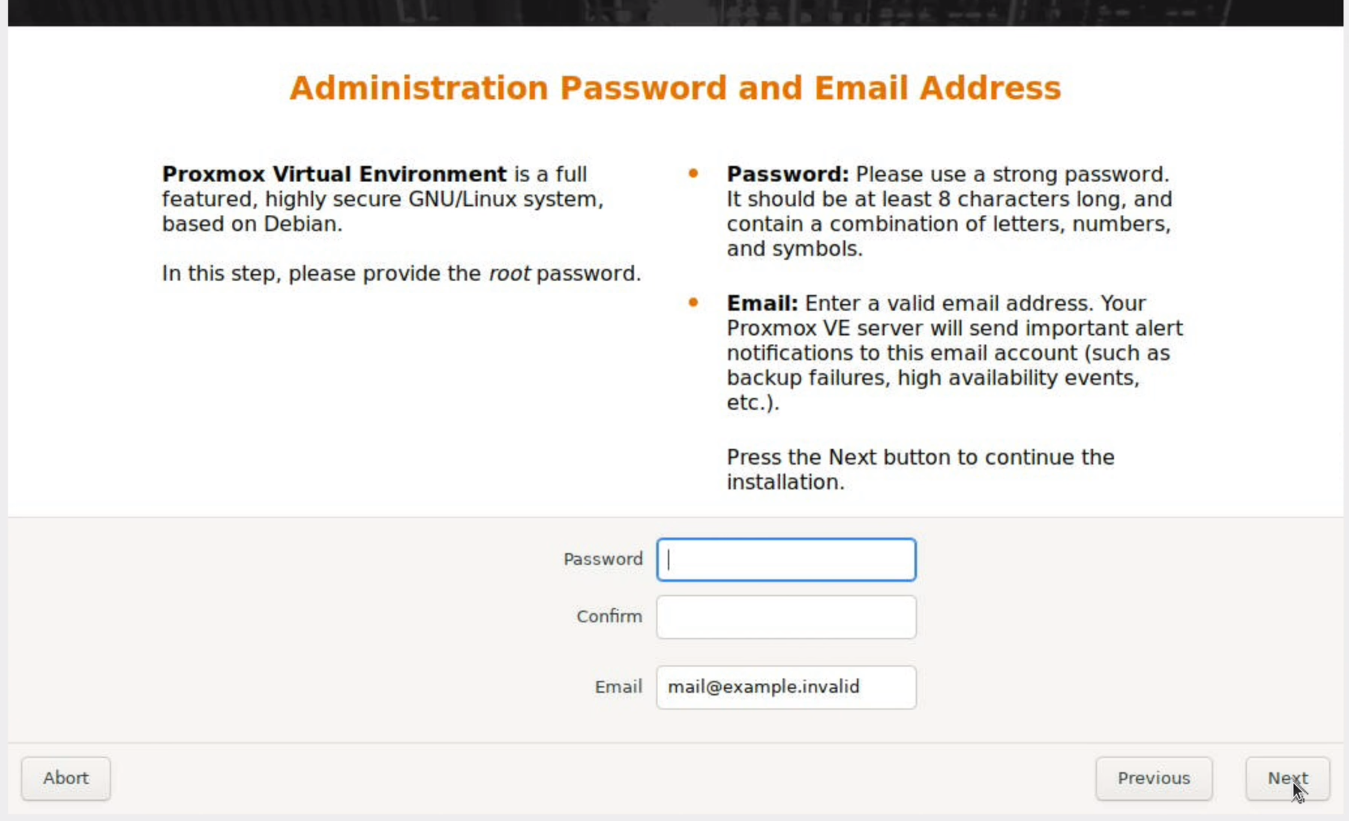
- after this we will setup the administrator account credentials. you will setup a root password along with providing a valid email for support services if you want and for alerts from the server.
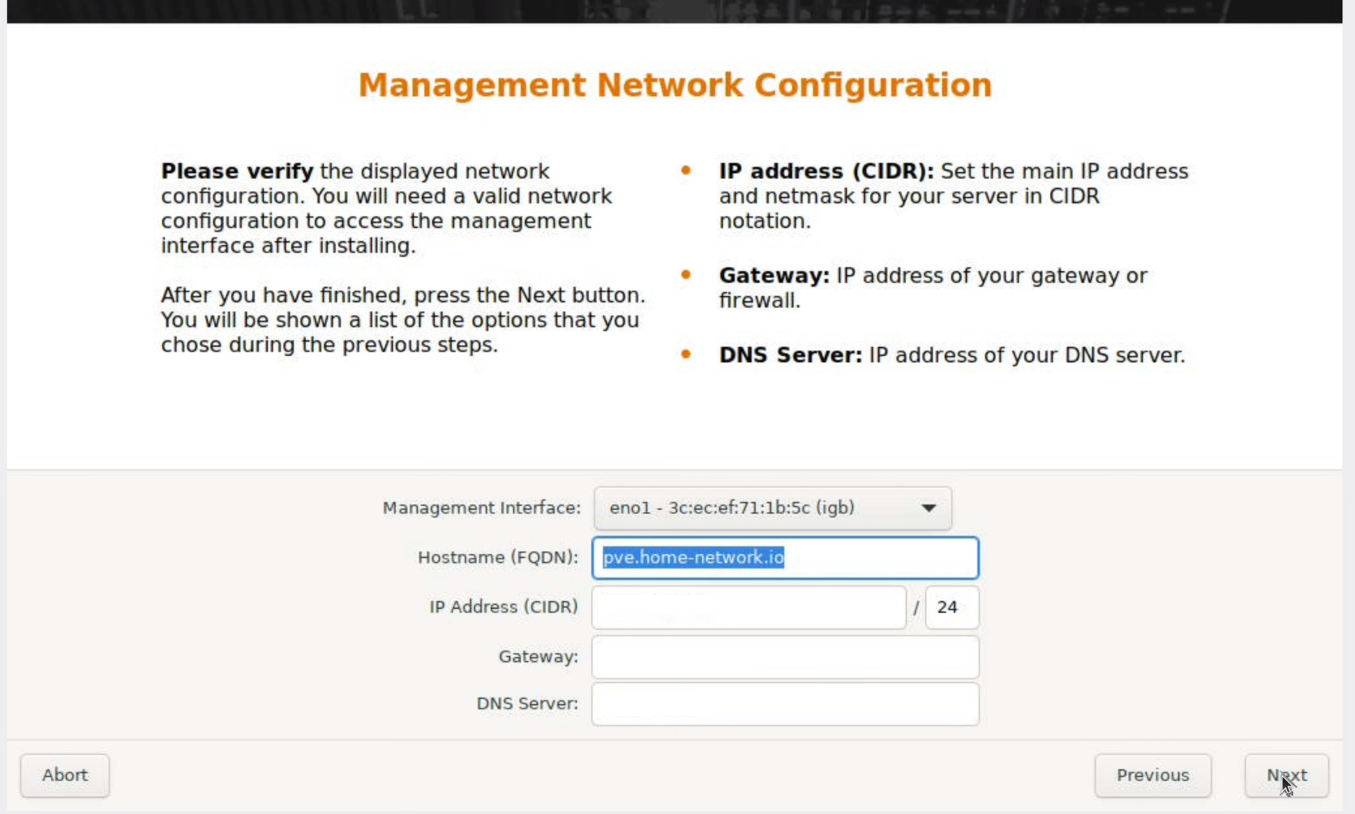
- now we are at one of the most important steps, networking. now if you have pluged in an ethernet cable before booting it should populate automaticaly with a gateway address
- now chose the management interface you would like to use. i.e. the ethernet port that is giving internet to your system
- for the hostname chose what you want. for my homelab i have no need for a public domain name here so i setup a private one.
- for the ip address it should auto populate if connected to a DHCP server, or simply your router. if not, manualy imput an ip within the address range of your DHCP server.
- for the gateway, again it should auto populate. if not then see your router/DHCP to what its ip is.
- for DNS you can point this to an internal dns if you have it previously setup or you can use other public DNS servers. personaly i like cloudflare’s DNS of : 1.1.1.1
- now procced through the instillation and reboot.
Conclusion
once rebooted procede to the web interface on ( https://IP-of-machine:8006 )
Congradulations! you know have a full up hypervisor setup for your cheap homelab needs!
