Implementing Zero-Trust in my Homelab
How’s it going everyone! Once again I’ve decided to give my homelab another makeover, as I often do, and to start I want to ensure that I can access my services from outside my network. The plan is to have a setup that will allow me to study and practice on my homelab in my home network during my downtime at work or when I’m deployed. Initially, I was considering using OpenVPN, which I’ve used before. However, I’ve been hearing a lot about “Zero-Trust” security and how it’s more robust than a traditional VPN, offering better control over user access, and security when connected.
That’s when I came across a company called Twingate. Their free tier, which supports up to 5 clients, seemed perfect for my needs. Before I delve into how I implemented Twingate into my homelab, let’s take a closer look at how this technology works.
There are four main components:
Client: This is the device that wants to remotely connect to a network using Twingate.
Connector: The Connector is the service running on my home network, allowing clients to access resources within it.
Controller: Twingate provides the Controller, which is used for User Access Control (UAC) towards the added resources via their web client.
Relay: Now, here’s the fascinating part for you network enthusiasts. The Relay’s role is to bridge the connection between the client and the connector, establishing an encrypted TLS tunnel for secure communication, all while managing NAT traversal.
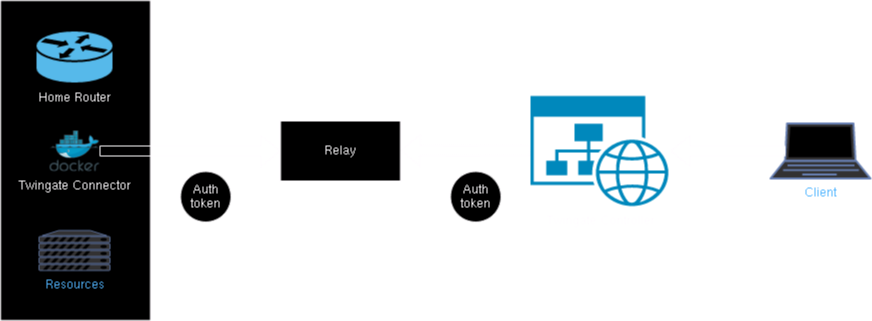
For you visual learners out there here is a simple diagram of how it works:
In your network setup, you’ll be hosting the Twingate connector. When a client seeks to connect to the network, it must first satisfy the security and authentication requirements specified in the Twingate controller. Once these prerequisites are met, the client shares its authentication token with the relay. The relay then matches the incoming NAT connection with the authenticated connector’s NAT connection, effectively establishing a secure TLS tunnel between them. This secure tunnel allows the user to access designated resources, as granted by the controller’s administrator.
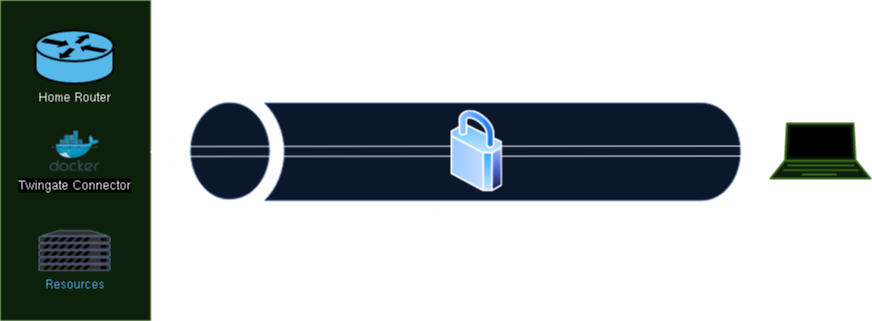
After the connection is established, your network configuration will appear as follows:
No need for port forwarding, firewall configurations, or intricate IPTable adjustments to make it function. It simply works.
This is precisely why I opted for this as my Zero-Trust solution.
Now lets get into how to install it.
The instalation
I primarily run Linux-based servers and clients on my network, so my focus will be on the penguin side of things. However, it’s worth noting that the setup remains consistent because we’ll be utilizing Docker to deploy our connector. The only divergence comes with the client software, which I’ll discuss later on.
To kick things off, let’s head over to Twingate’s website at https://www.twingate.com/ and give it a try for free. 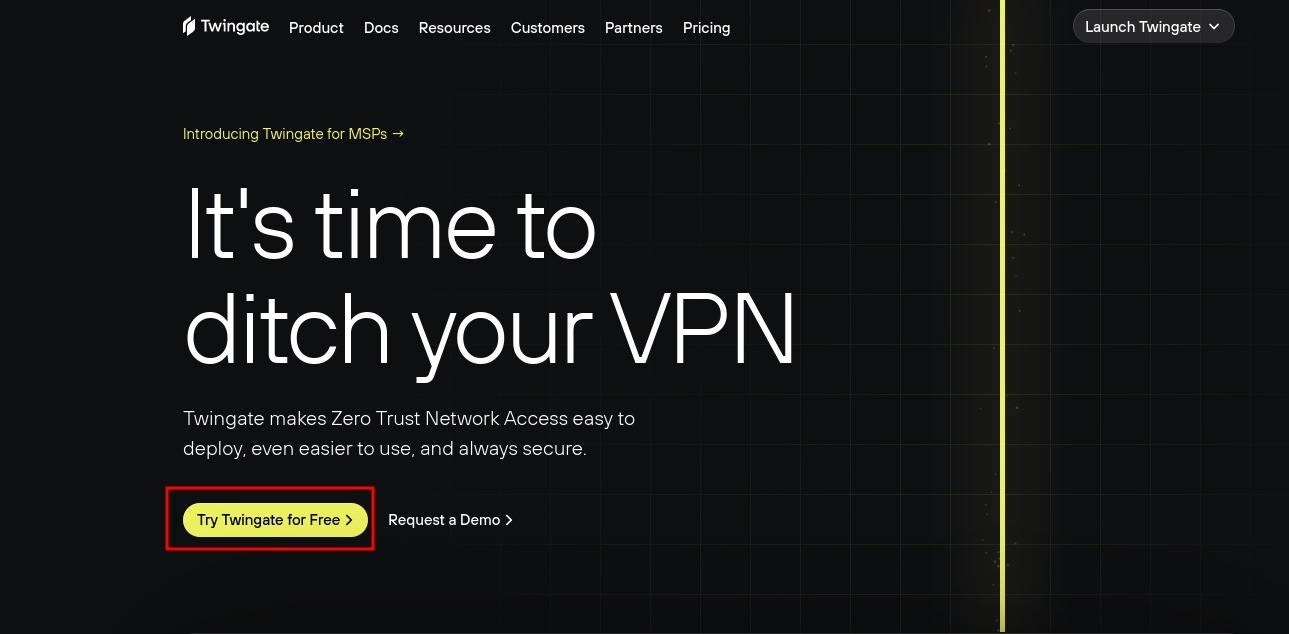
Step 1: Sign Up
Begin by visiting the Twingate website at https://www.twingate.com/ and sign up for an account. 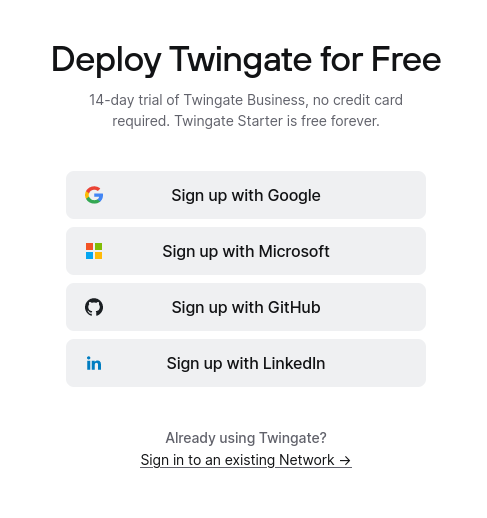
Step 2: Account Details
Upon entering the Twingate platform, you’ll be prompted to provide your information. Don’t worry if you’re not representing a business; you can simply enter the desired name and select “Less than 100 employees.” 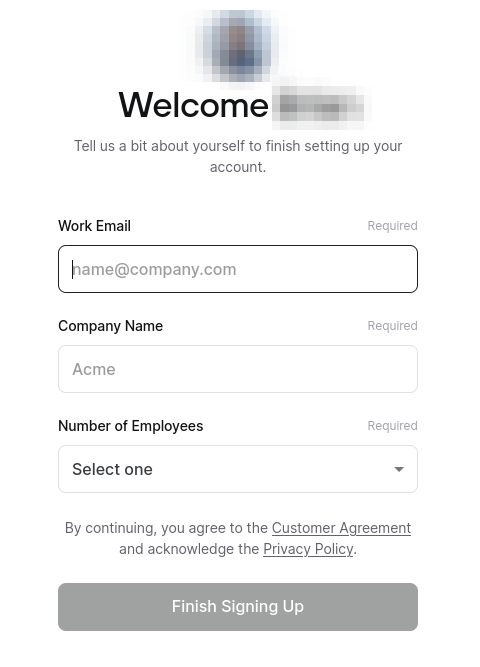
Step 3: Twingate Dashboard
Now that you’re inside your Twingate dashboard, as an admin, you have full control to create, modify, and manage everything you need. To start, let’s create a new network by clicking the “Add” button. 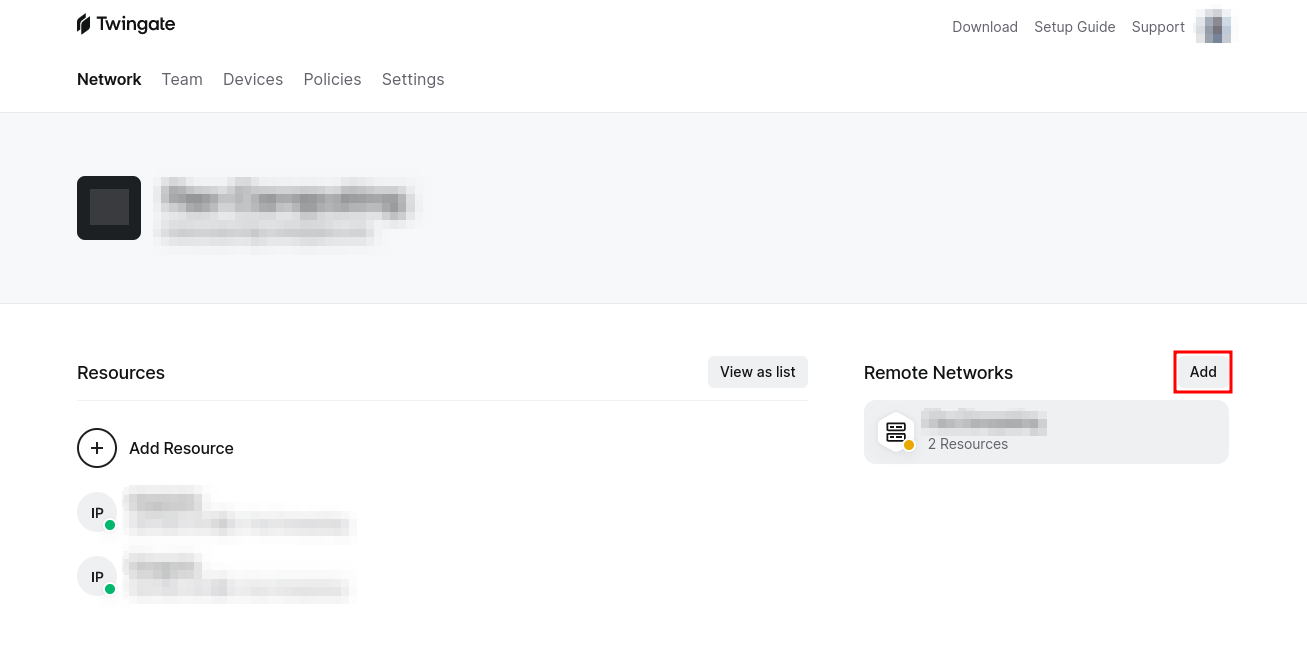
Step 4: Network Type
Specify the type of network you want to create, whether it’s on-premises or in the cloud. 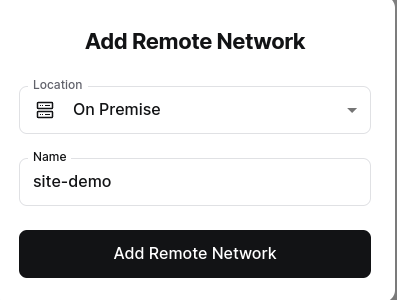
Step 5: Deploying Connectors
Once your network is created, click on any of the connectors to deploy. It doesn’t matter which one; deploying both provides redundancy in case one container goes down. 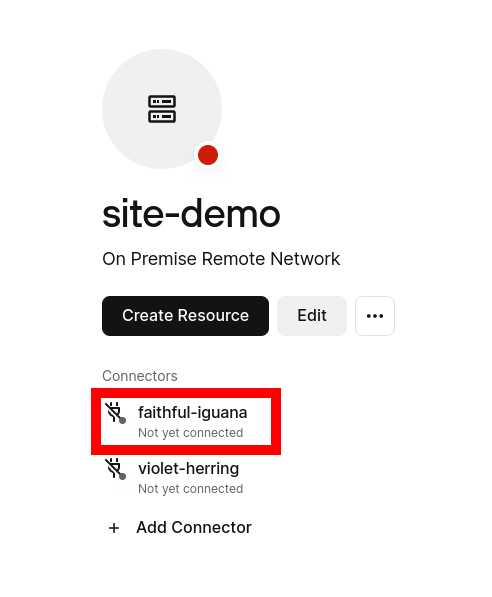
Step 6: Docker Deployment
For this installation, we’ll be using Docker. While other methods are available, Docker is often the most straightforward and efficient choice. ![[/assets/images/twingate/twingate7.png]]
After selecting Docker, generate the required tokens. These tokens are essential for connecting your connector and client through the relay, ensuring secure access to trusted users. 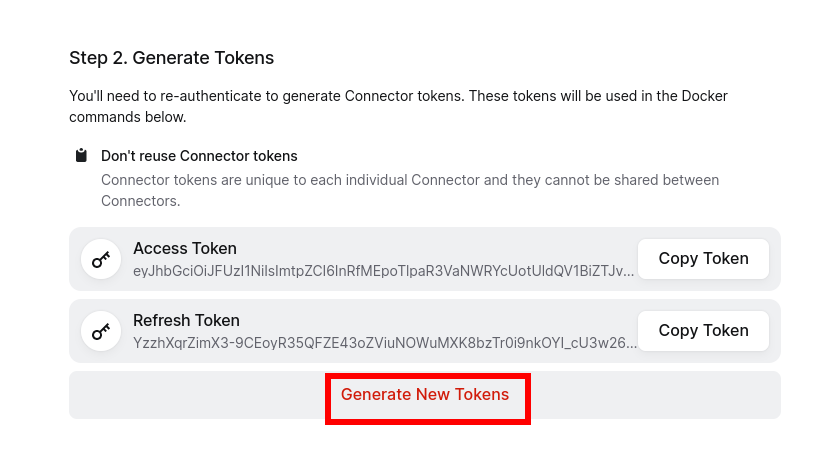
You can skip the DNS configuration unless you have specific requirements. For this tutorial, we’ll skip it. In Step 4, you’ll copy and paste the provided command into your Docker host. If you need help setting up a Docker host, you can refer to this tutorialfor guidance on Proxmox or any other Linux-based server. 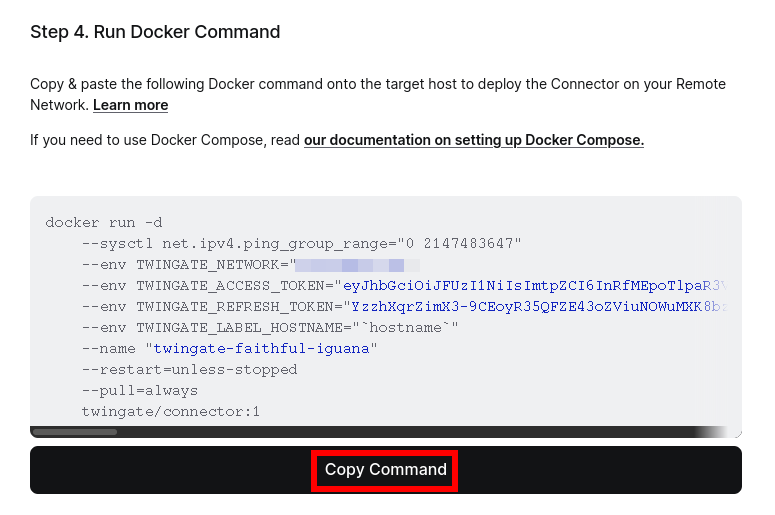
Step 7: Confirmation
After executing the command on your Docker host, your dashboard should display a confirmation message after a short wait. This indicates that your Twingate setup is ready to use. However, at this point, you have an empty connection. This is where the concept of Zero Trust comes into play; nothing is allowed unless explicitly permitted. Let’s add some resources and set permissions. ![[/assets/images/twingate/twingate10.png]]
Step 8: Adding Resources
Click “Create Resource” to begin. ![[/assets/images/twingate/twingate11.png]]
Step 9: Resource Details
Here, you’ll see a prompt to add the local IPv4 address or domain name of the machine you want to access. 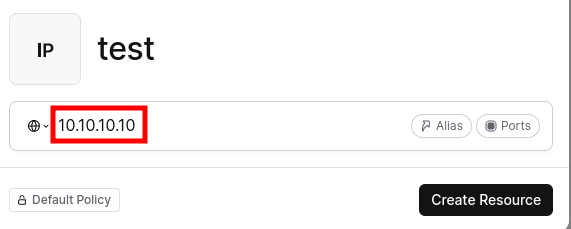
Step 10: Setting Rules
You can define rules for the resource via the “Ports” button or create an alias to the site using the “Alias” button. These rules can specify accessible ports, whether to block all TCP or UDP packets, or even allow users to ping the server. Once you’re satisfied, click “Create Resource.” 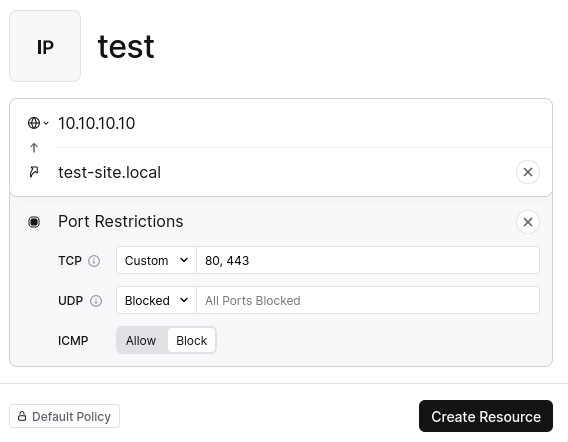
Step 11: Access Control
This is where you determine who can access the resource. By default, you’ll have the “Everyone” group, but you can set up additional groups or specify services with access to the new resource. 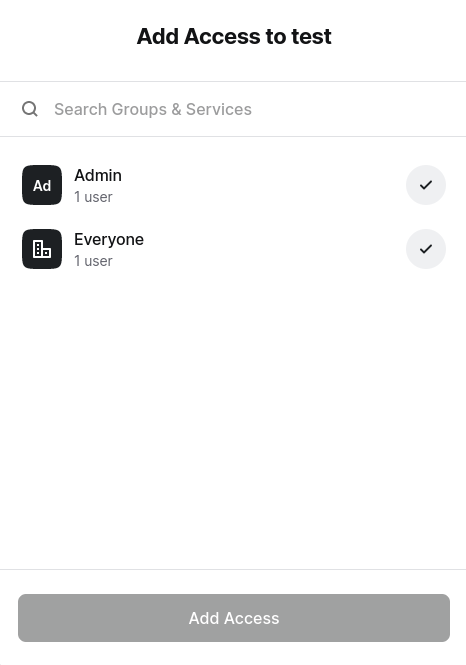
Step 12: Congratulations
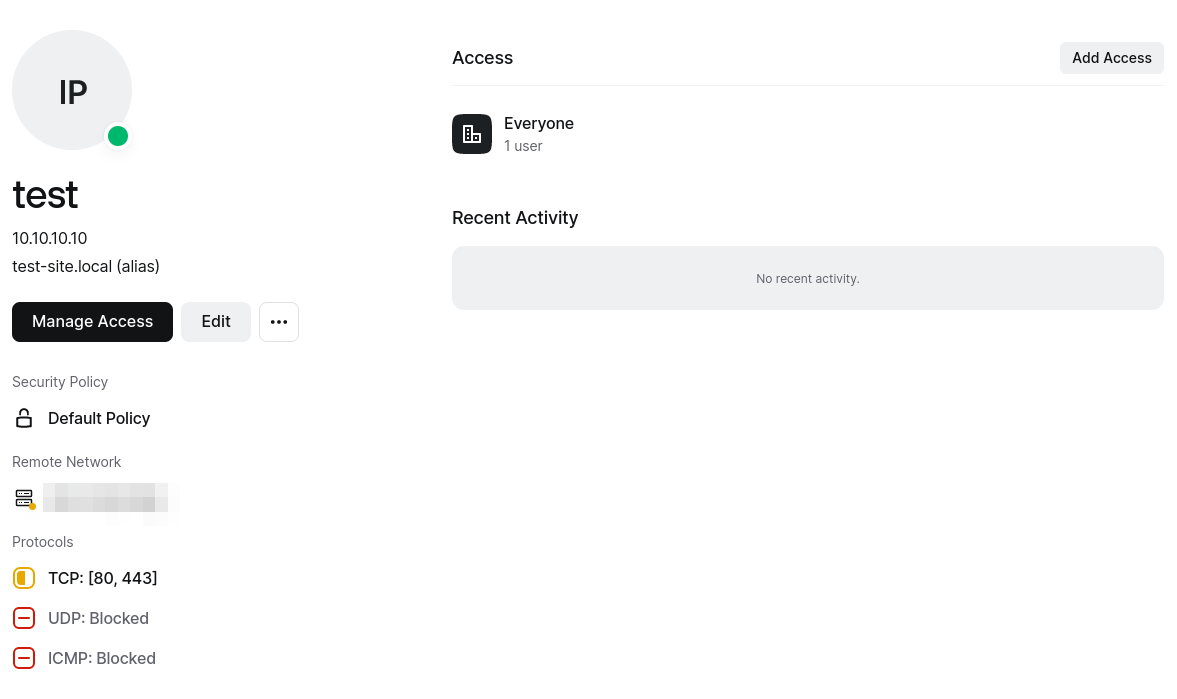
Congratulations! You’ve successfully added your first resource. If you ever need to review the details of the resource, simply click on it to view the associated information. 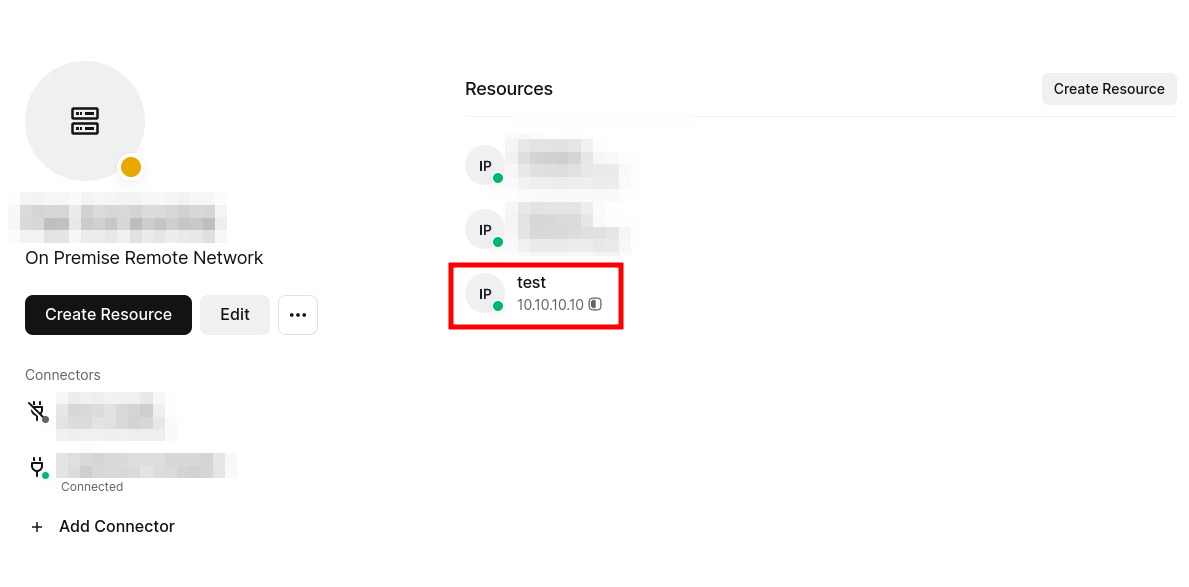
Connecting to Twingate
Now that Twingate is all set up, the next step is connecting to it. How do you do that? Well, with the client software, of course!
Depending on your system, whether it’s Android, iOS, Windows, macOS, or the Linux penguin itself, you have client-side software to get you up and running.
For most systems, you’ll have a user-friendly GUI to guide you through the process. If you’ve ever installed software on your device, you can likely handle it from there. However, us Linux enthusiasts have a bit more of a manual process.
Linux Installation:
If you’re on Linux, head to the following site: https://www.twingate.com/docs/linux.
Here, you’ll find a bash script that can automatically install the Twingate client, or you can choose to manually use your package manager. Regardless of your choice, once you’ve installed the Twingate client, enter the following command:
1
sudo twingate setup
This command will give you a CLI prompt to go through the setup process.
Once you’ve completed the setup, you’ll have remote access to your resources!
There are numerous other aspects to fine-tune in order to achieve a higher level of control over a user’s connection, as well as to implement more secure methods for configuring your services and servers. Feel free to dive into the rabbit hole and play around customizing your security!
Thank you for reading, and I hope you found this guide helpful. Feel free to stop by for more useful information!
